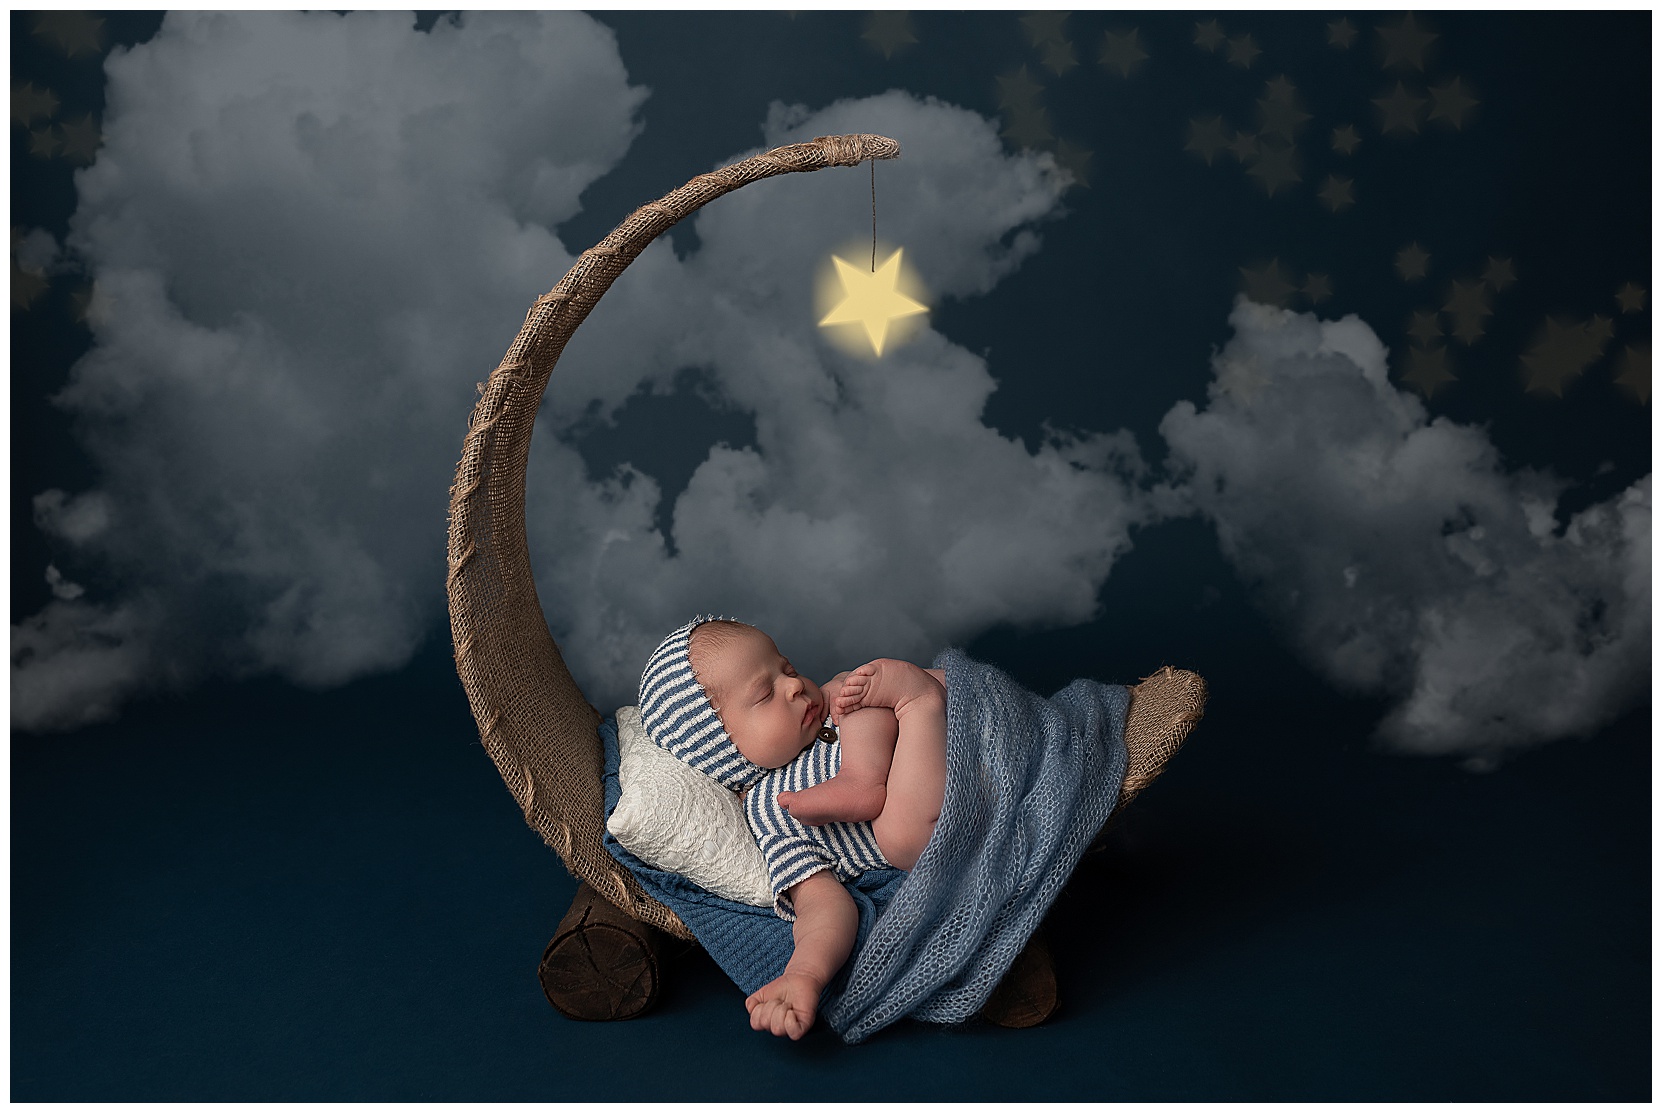
Ah, my beloved moon prop. This is one of my most requested studio props, and for good reason. There are many ways to style this moon prop from Newborn Studio Props. One of the things I love doing the most with it is letting it inspire my photography edits. It sparks my imagination, and I feel like a bit of photo editing with the moon prop goes a long way.
Here are some of my favorite photography edits using my moon prop.
Photography Edits: Dispelling Rumors
One thing I’d like to address before I go any further is digital alterations. There is this unspoken (and sometimes very loudly spoken) popular opinion that good photographers don’t do digital edits. There is so much wrong with this statement.
Most professional photos — from the photos you see on billboards, to your niece or nephew’s senior photos, to professional photos in magazines like National Geographic — are all altered in some manner. Newborn photography is no different.
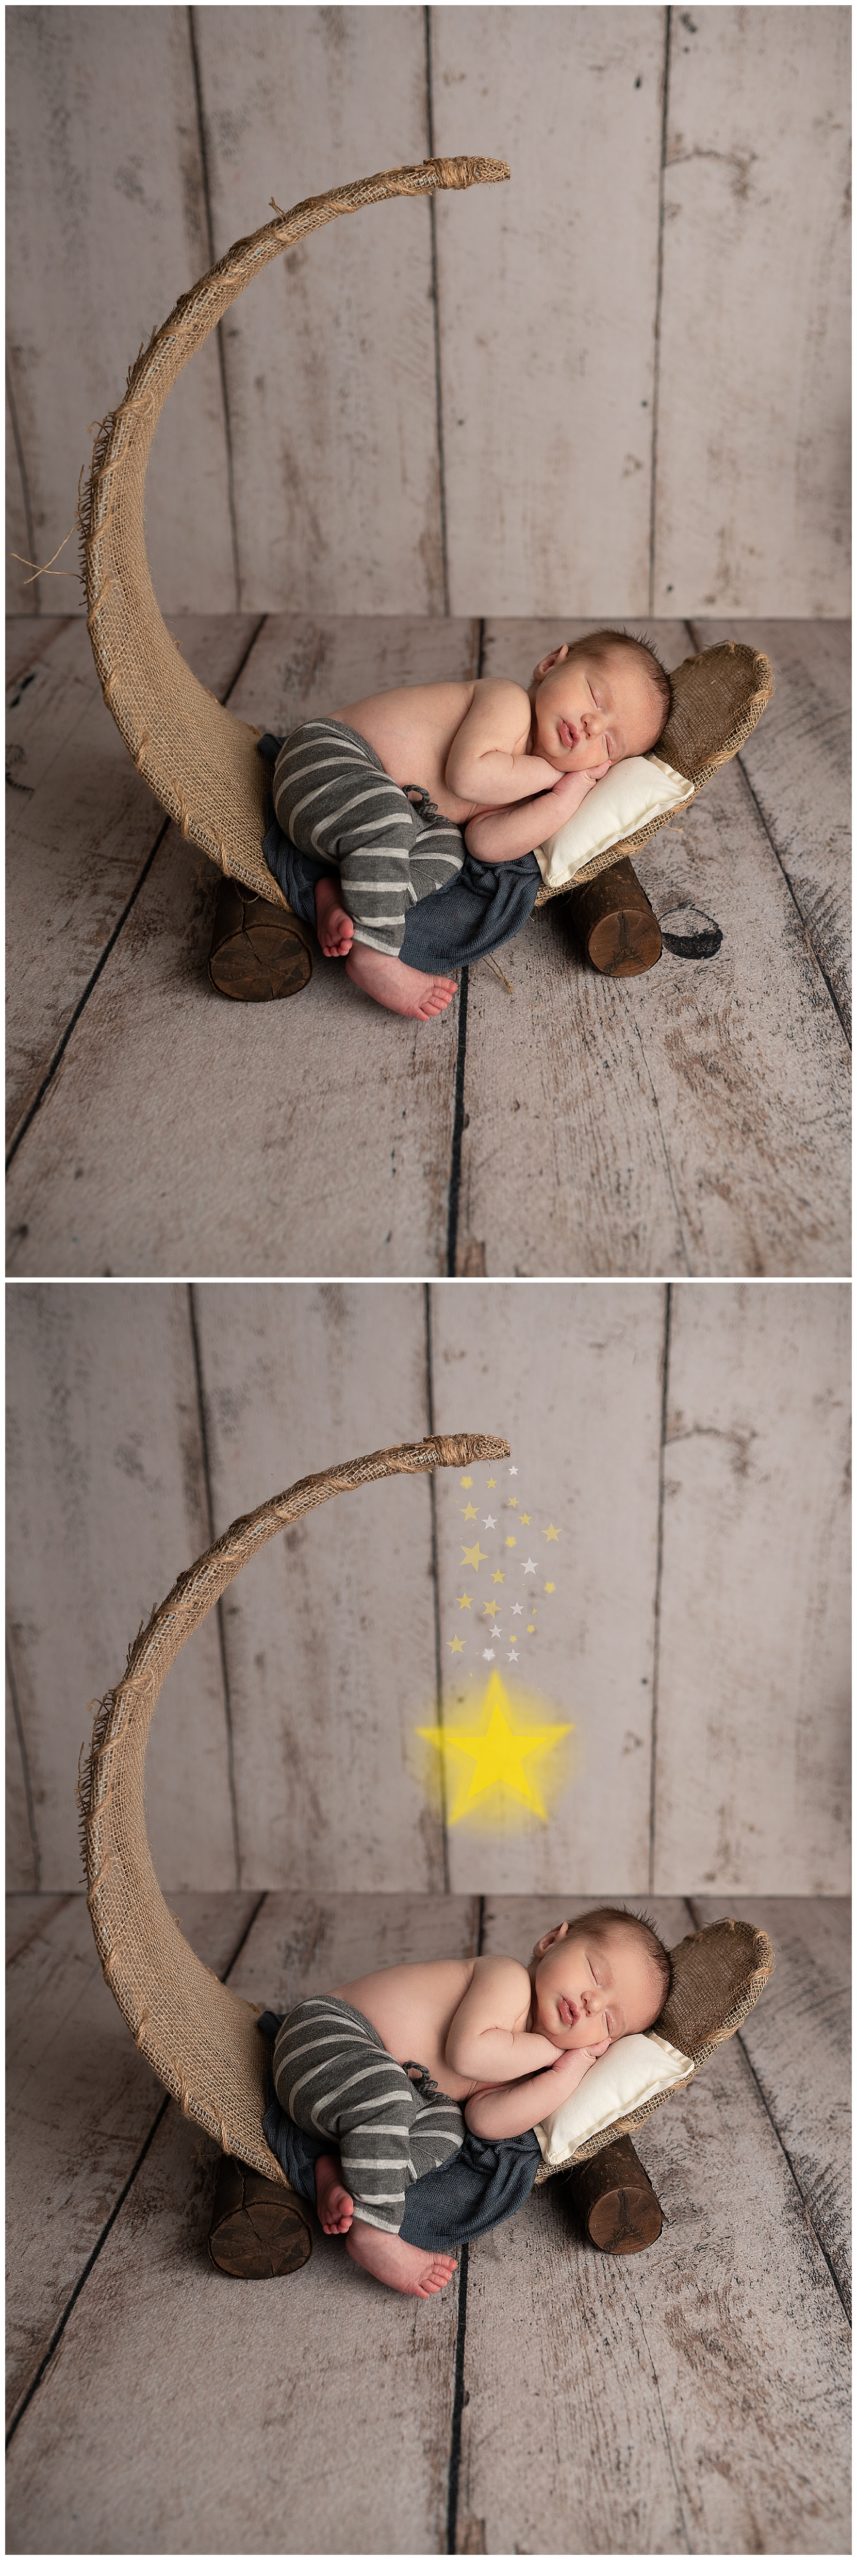
Take this photo, for instance. The first unaltered photo is, in itself, a good photo. It has excellent contrast, I staged it well, and the baby looks very cute. However, I felt some elements to the first photo needed editing to take it to the next level. First, the baby’s skin tone is a little uneven, which in itself is entirely normal, but I chose to lightly edit like I would if he had baby acne or any other natural blemish.
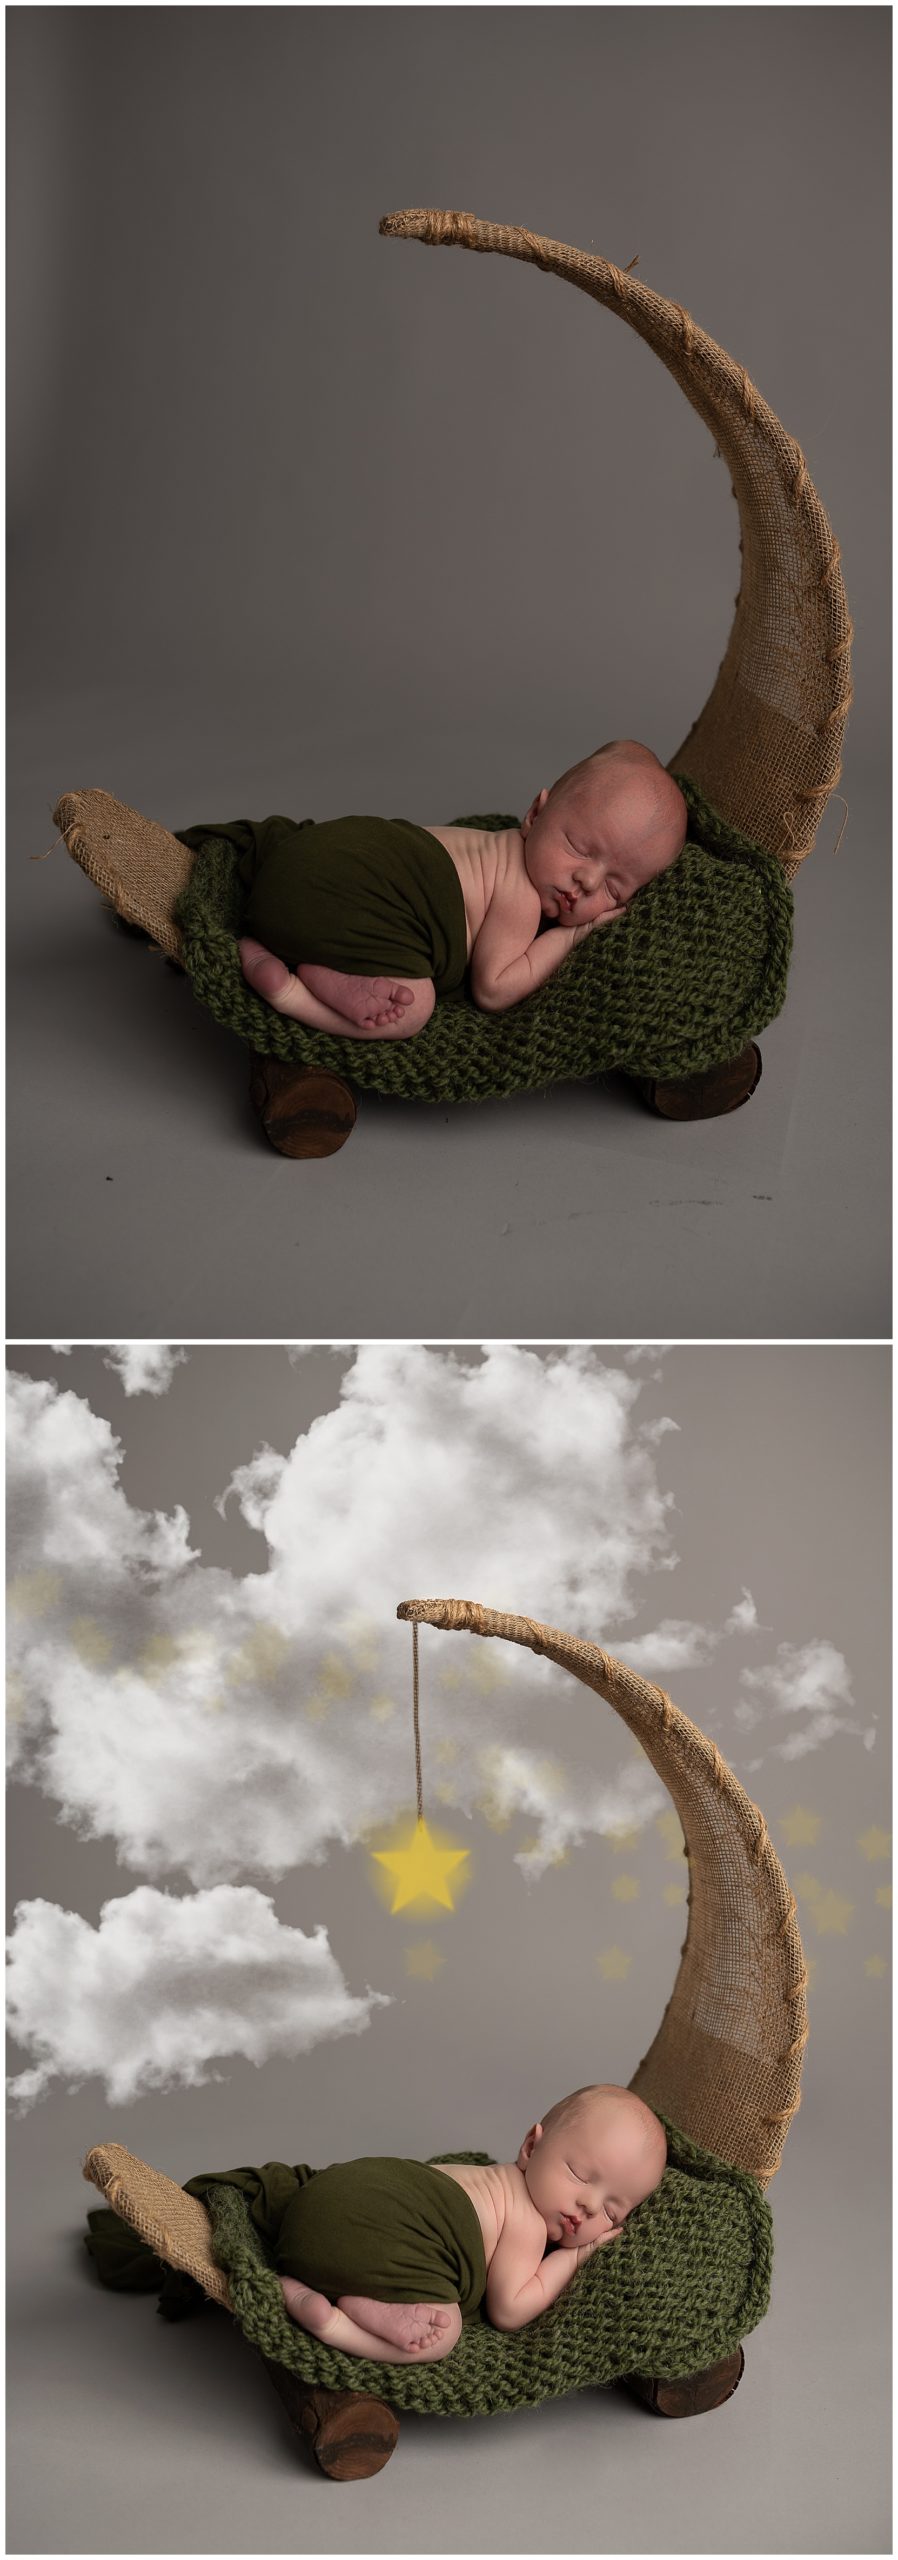
The same goes for this photo. Babies sometimes have different head shapes when they are born. Some parents request changes, while others do not- both scenarios are totally ok! I tweaked that little bump just a bit and lightened the photo up a little bit. (Side note — sometimes babies are born with differently-shaped heads. Their skulls are not fully formed as newborns and may take up to 18 months to form! This means newborn photographers sometimes have to edit baby’s head in their newborn photos).
Before/After Edits: Photographer’s Imagination
One of my favorite parts of editing is adding in little flourishes.
I’ve got a lot to work with in my Cedar Park newborn studio, but I don’t have a sky full of gorgeous stars. Working with photoshop lets me create my own starry night sky inside using my moon prop.
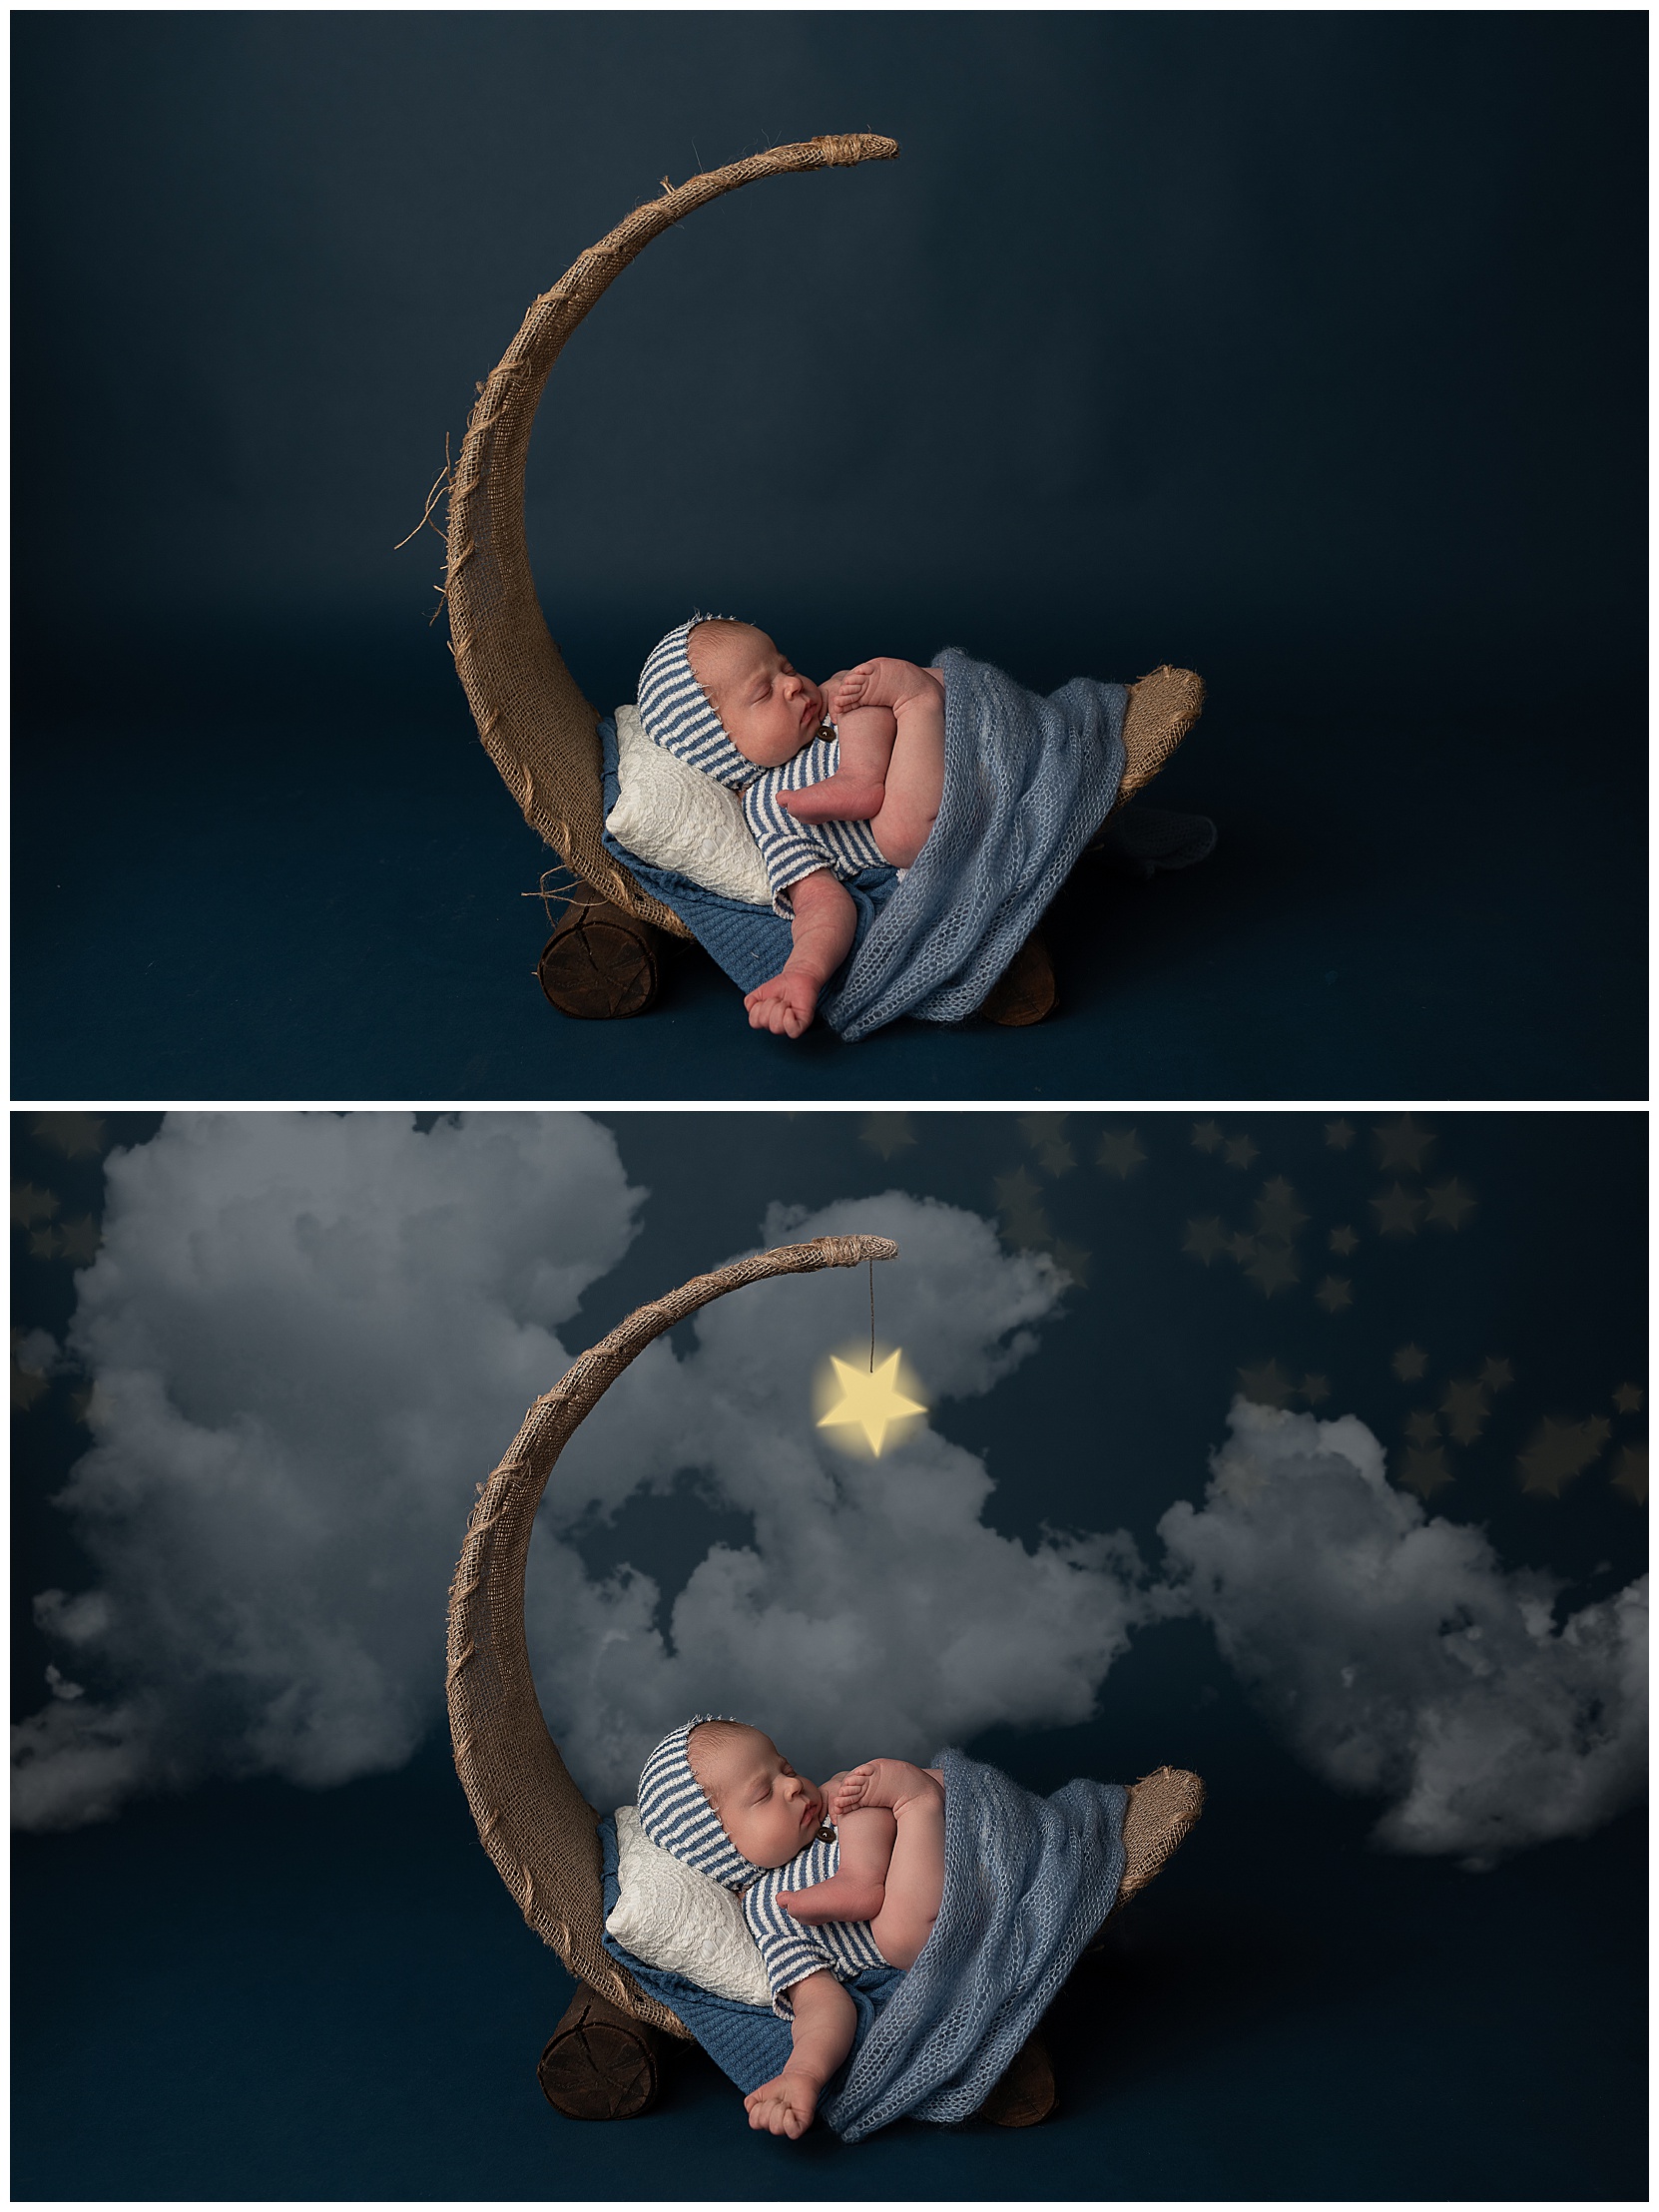
Photoshop lets me take already beautiful photos, like the one above and the ones below, and add in a little bit of magic. Clouds are super fun to work with because they add a little dimension to otherwise flat, matte backgrounds.
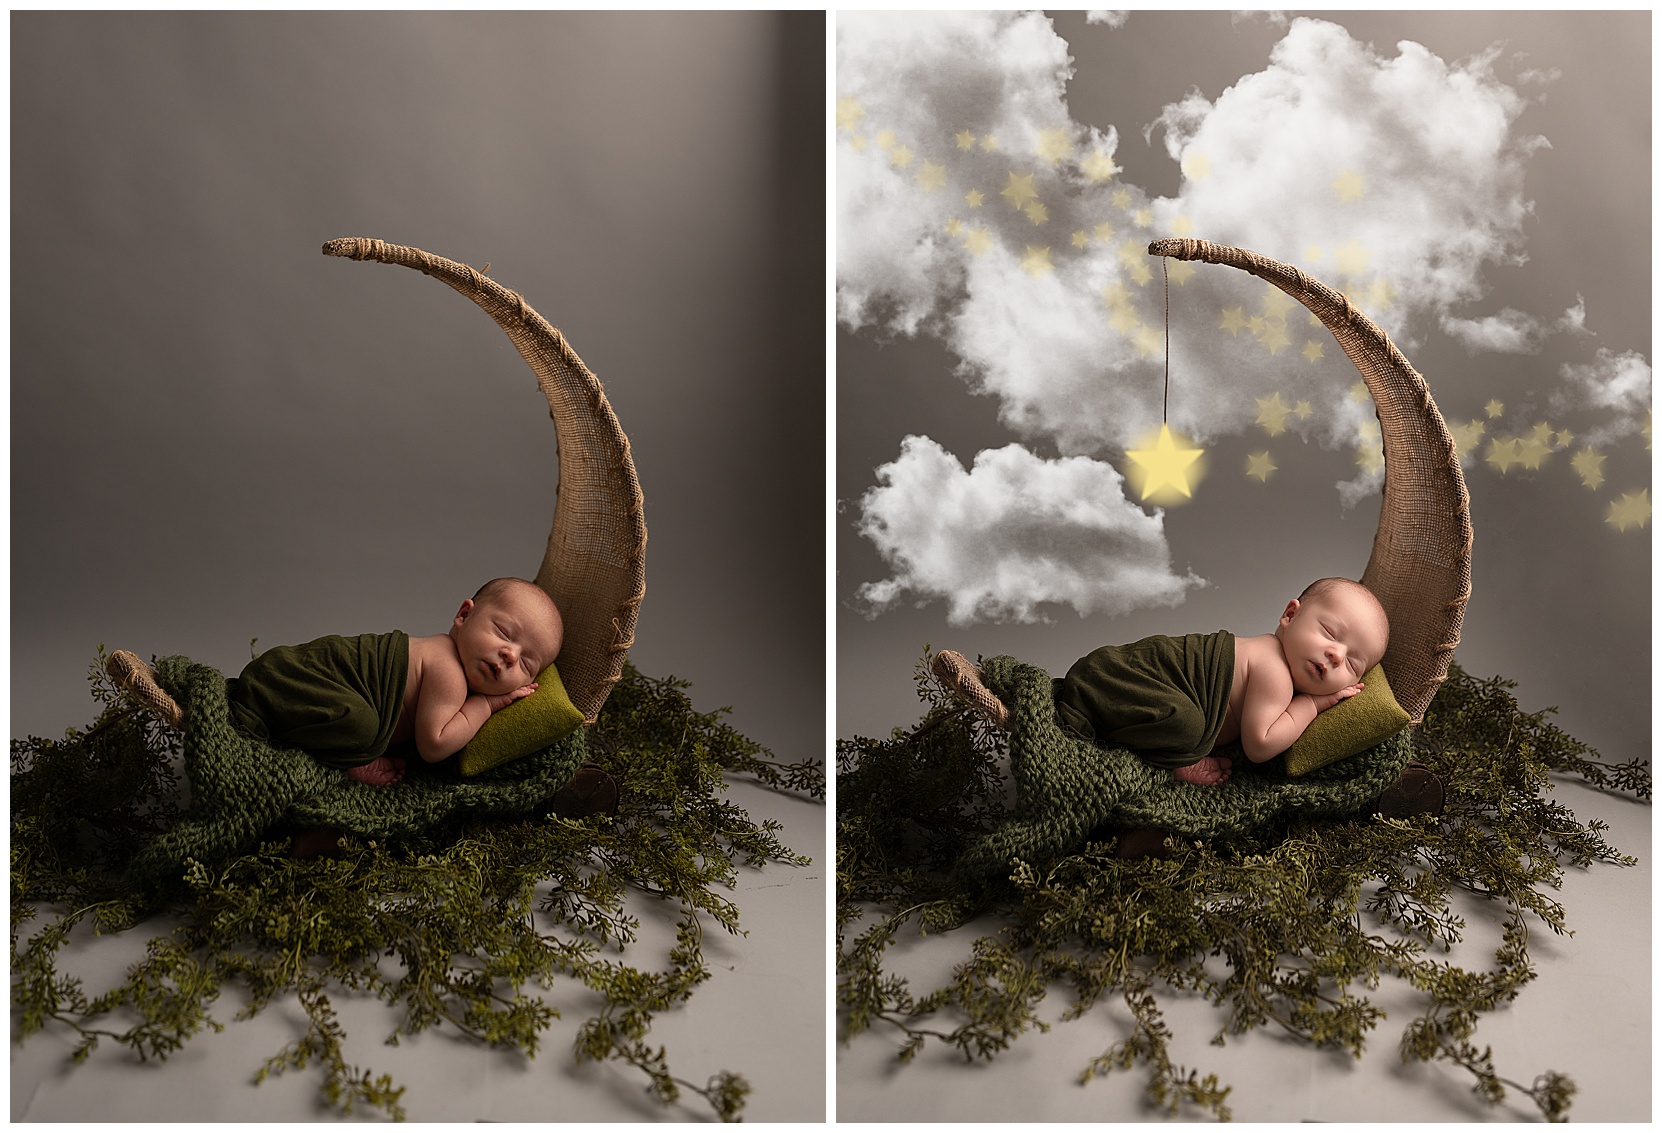
You might be able to tell with the photos above, but I usually spend time working on lighting and contrast and adding in some post-newborn session photo flare. Both are important to enhance the final product.
My Process: Before & After
As you can see from the pictures below, sometimes before and after photos are pretty drastic! I have a process for editing photos in the raw (first picture) to make them look like their final picture. I chose this picture to edit for starters because even though it came out a little dark, it has all the elements of a great newborn photo. This little one has the sweetest, sleepiest face on and is posing so beautifully. Not editing it felt wrong! So, I edited it.
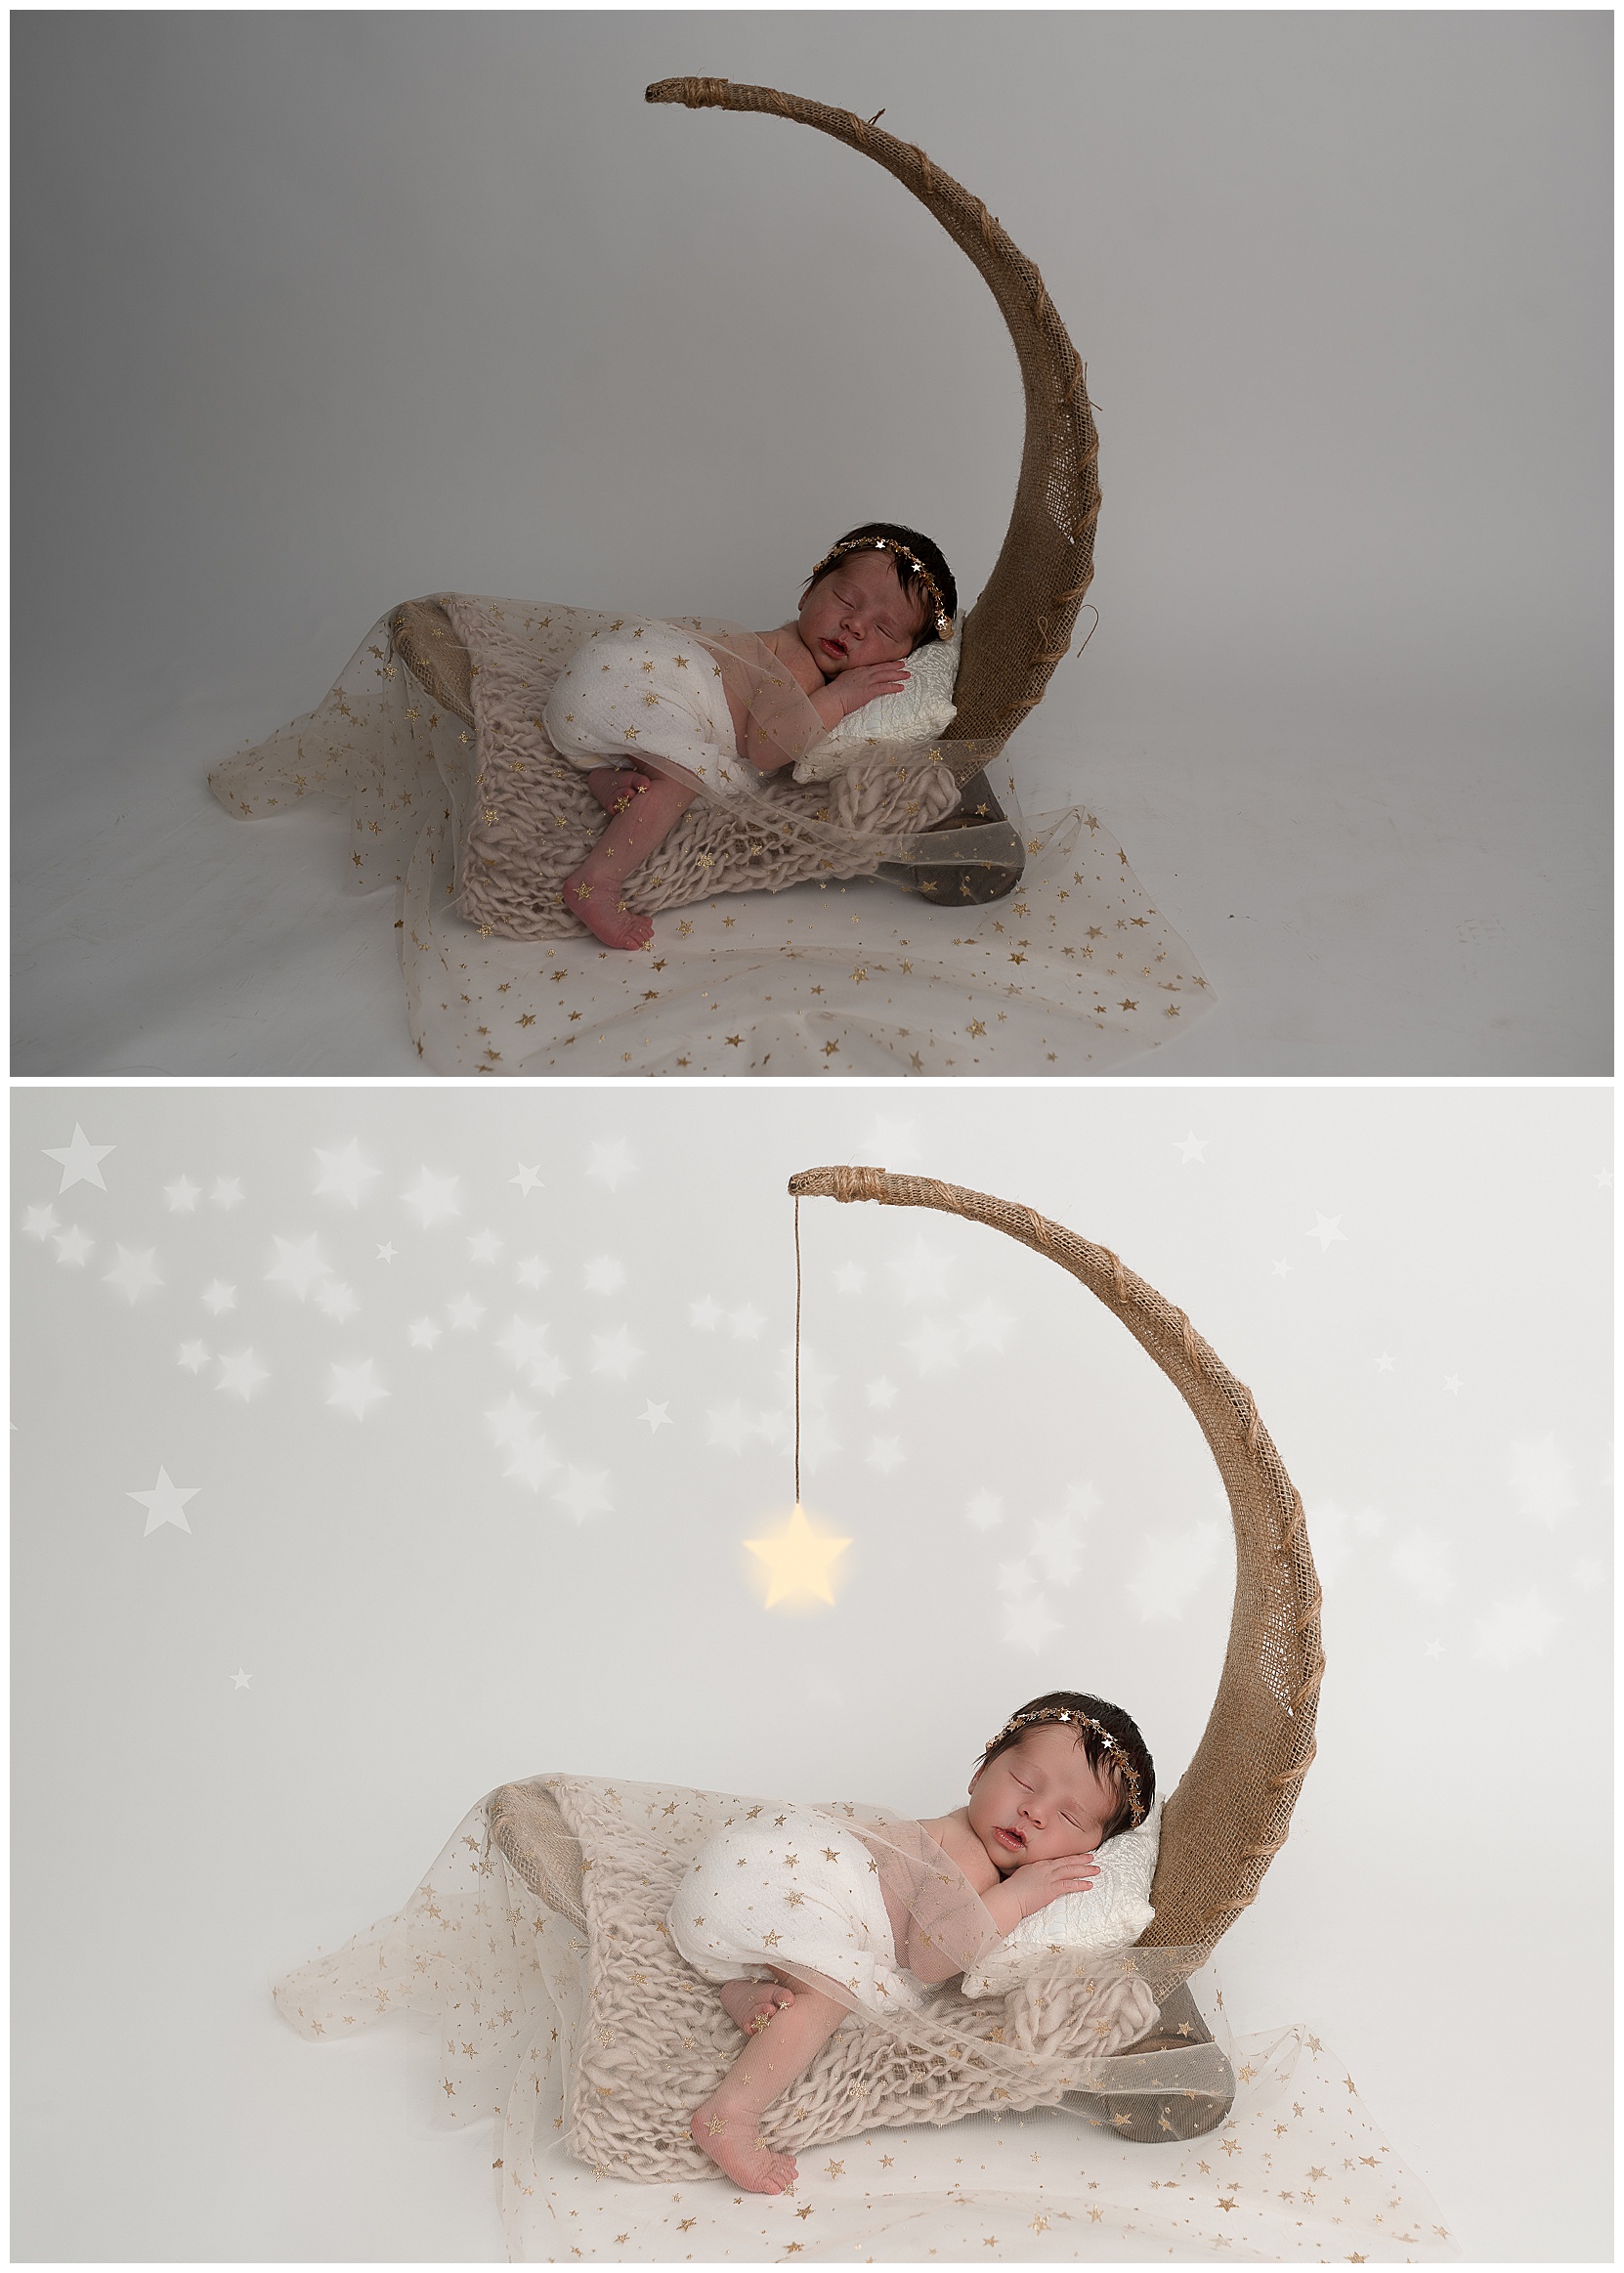
First, I started by lightening up the photo so you could see this little one’s face a little better. I cropped it for better focus, and I made sure she was front row center. I also did a little bit of blemish removal and evened out her tone. This created a little bit of glow on her skin, which added to the overall heavenly feel of the newborn portrait.
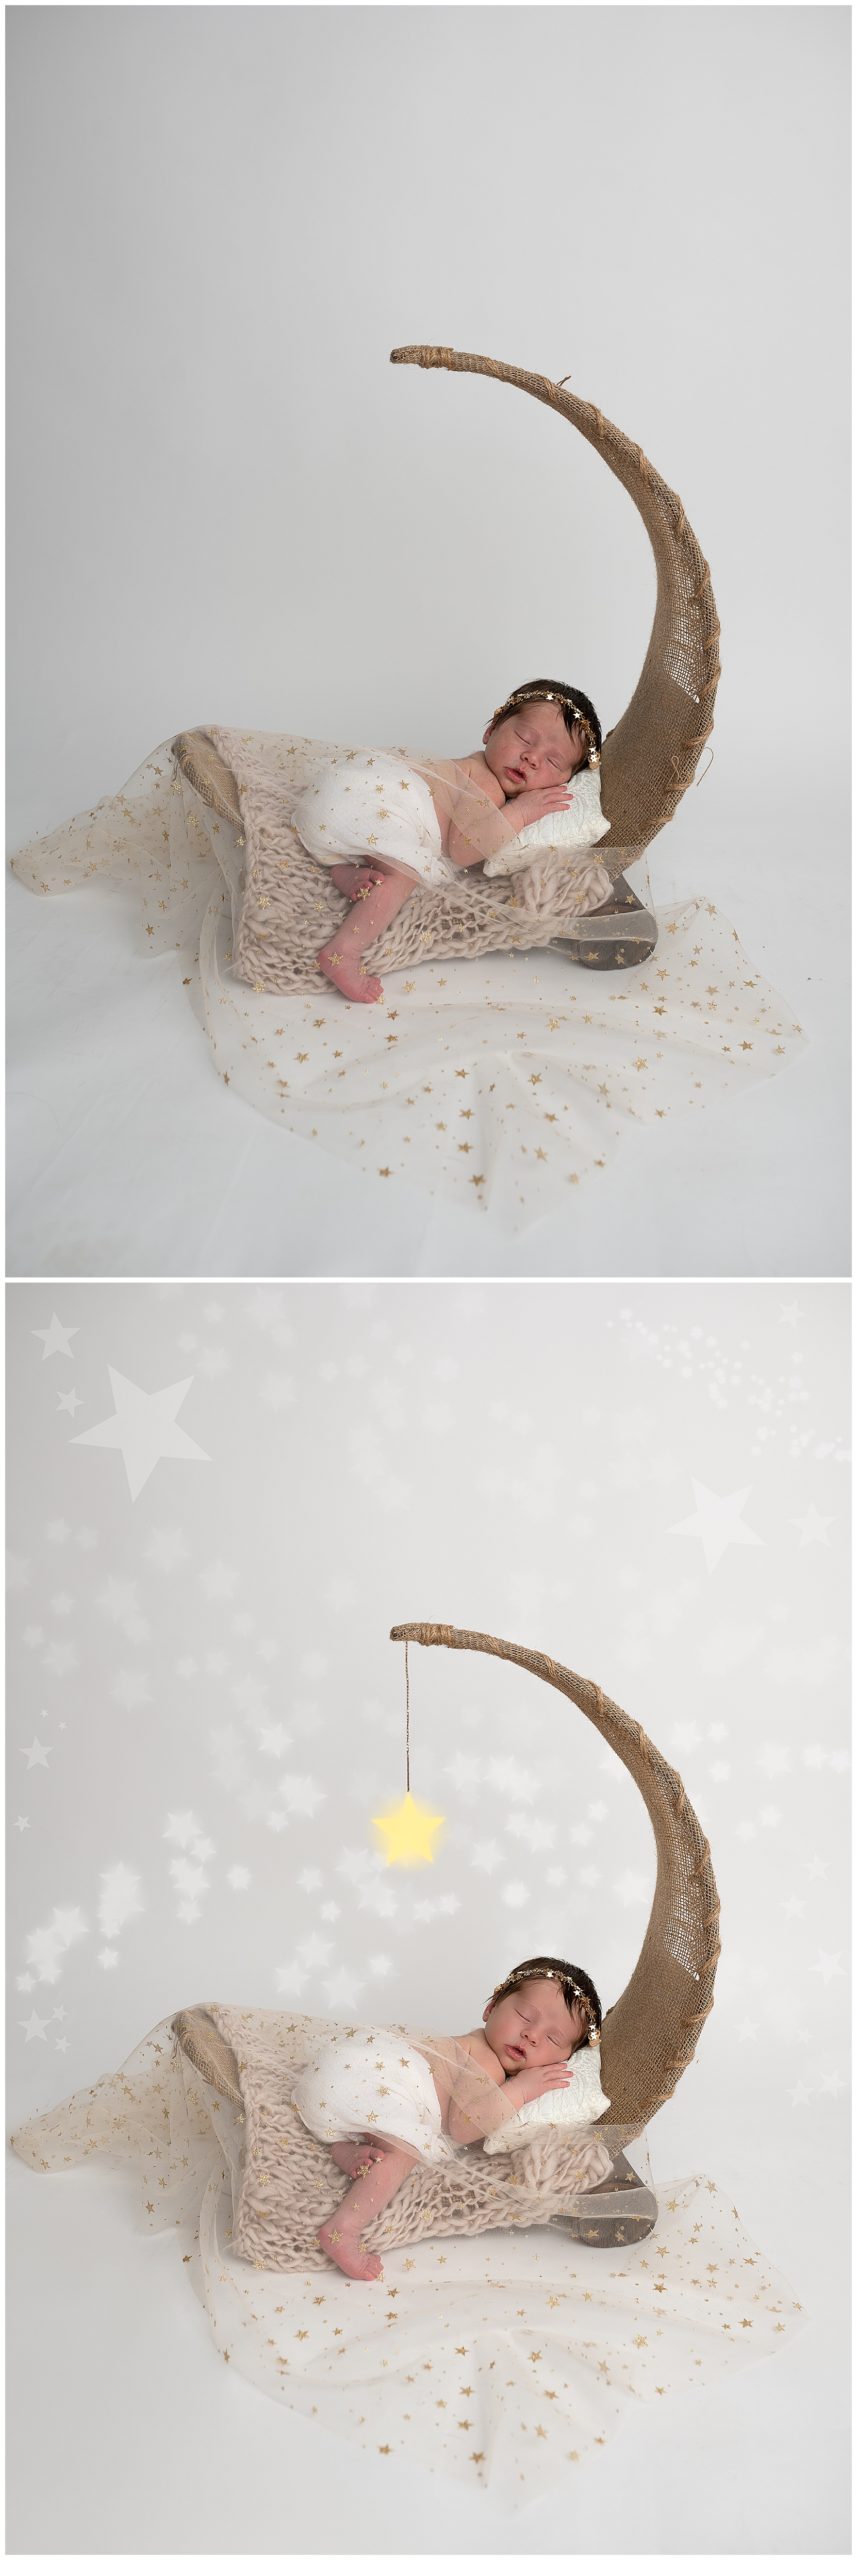
After all this was done, I added in the final star touches to match her little star fabric.
While I don’t photoshop effects into every newborn picture I take, I do make sure to include at least a few into my newborn photos taken with my moon prop. It’s a fun way to flex my creative muscle — and so far, I haven’t heard any complaints.
Still super busy, so a PSA as the year comes to a close — if you’re expecting a baby in the first few months of the new year, now is the time to book your newborn session. Let’s chat!
