


I love my job, and I do everything within my power to capture the magic of pregnancy, babies, and families with each picture I take. The editing process is where I transform your images into beautiful pieces of art for you to hang in your home.
Unforeseen photoshoot circumstances are all part of the business — things like flyaway hair, photobombs, diaper blowouts, and uncooperative lighting can be part of what make my job exciting and sometimes even add to a photo’s authenticity.
As a professional photographer, I know what I’m doing when we plan our photoshoot together. However, with all the different contributing factors of a photo, It can be hard to get the right shot every time.
Why Edit Photos?
Photography is personal, so each photographer — including maternity photographers and newborn photographers — has their reasons. Here are some of the more common reasons I edit the photos I take for my clients.
- To make up for poor weather conditions. Clients and photographers plan session dates together, and if the photoshoot is outside, sometimes we compete with the weather. If it is too dark (or too bright, for that matter), it can impact the photo’s exposure, obscuring areas of the image.
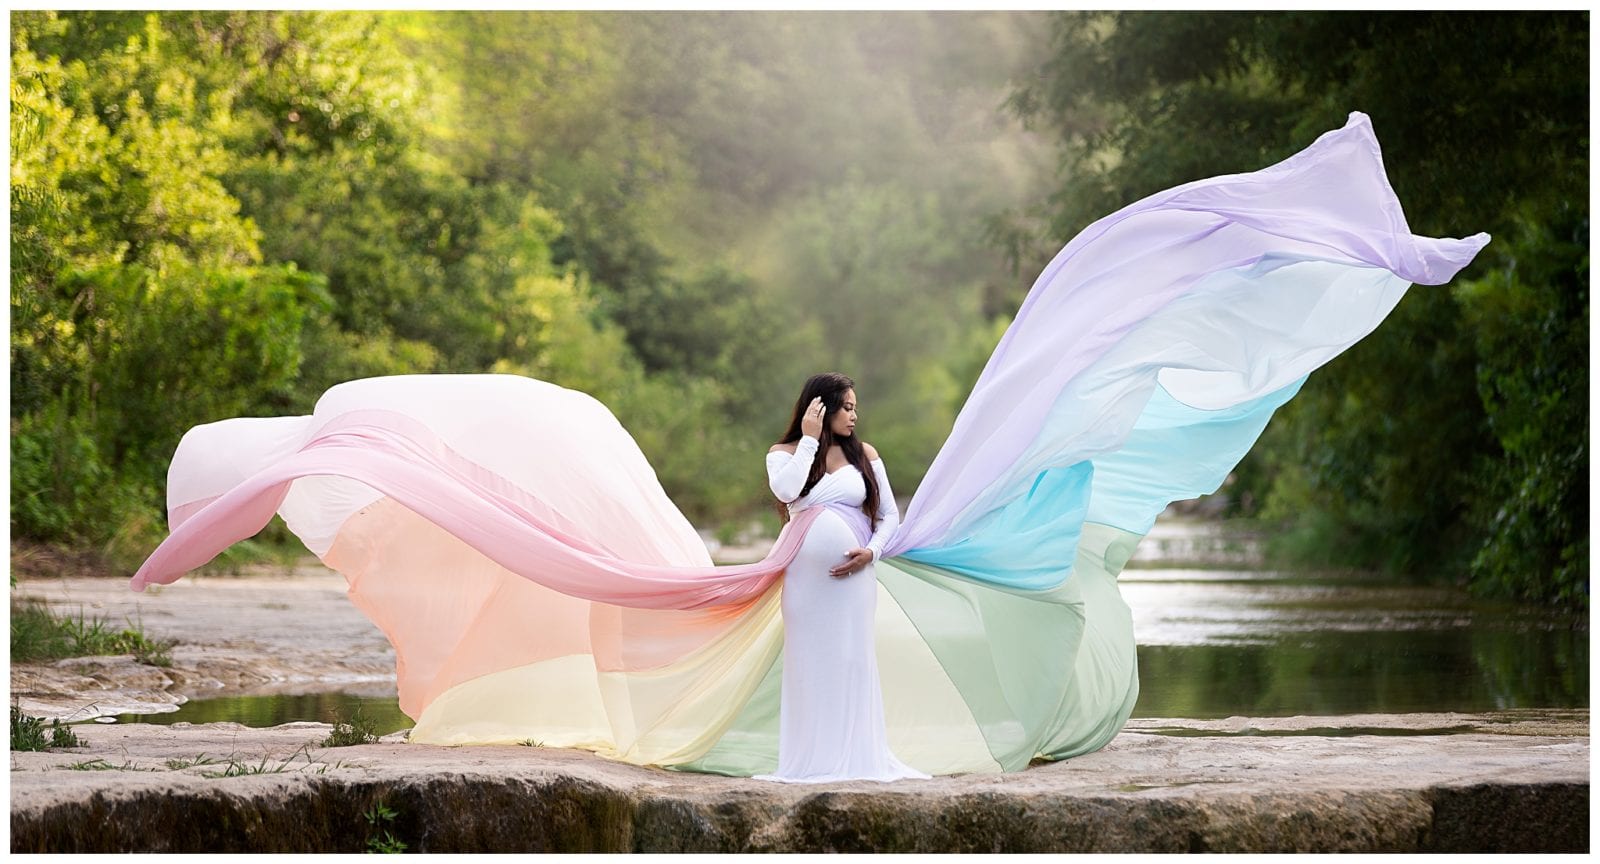
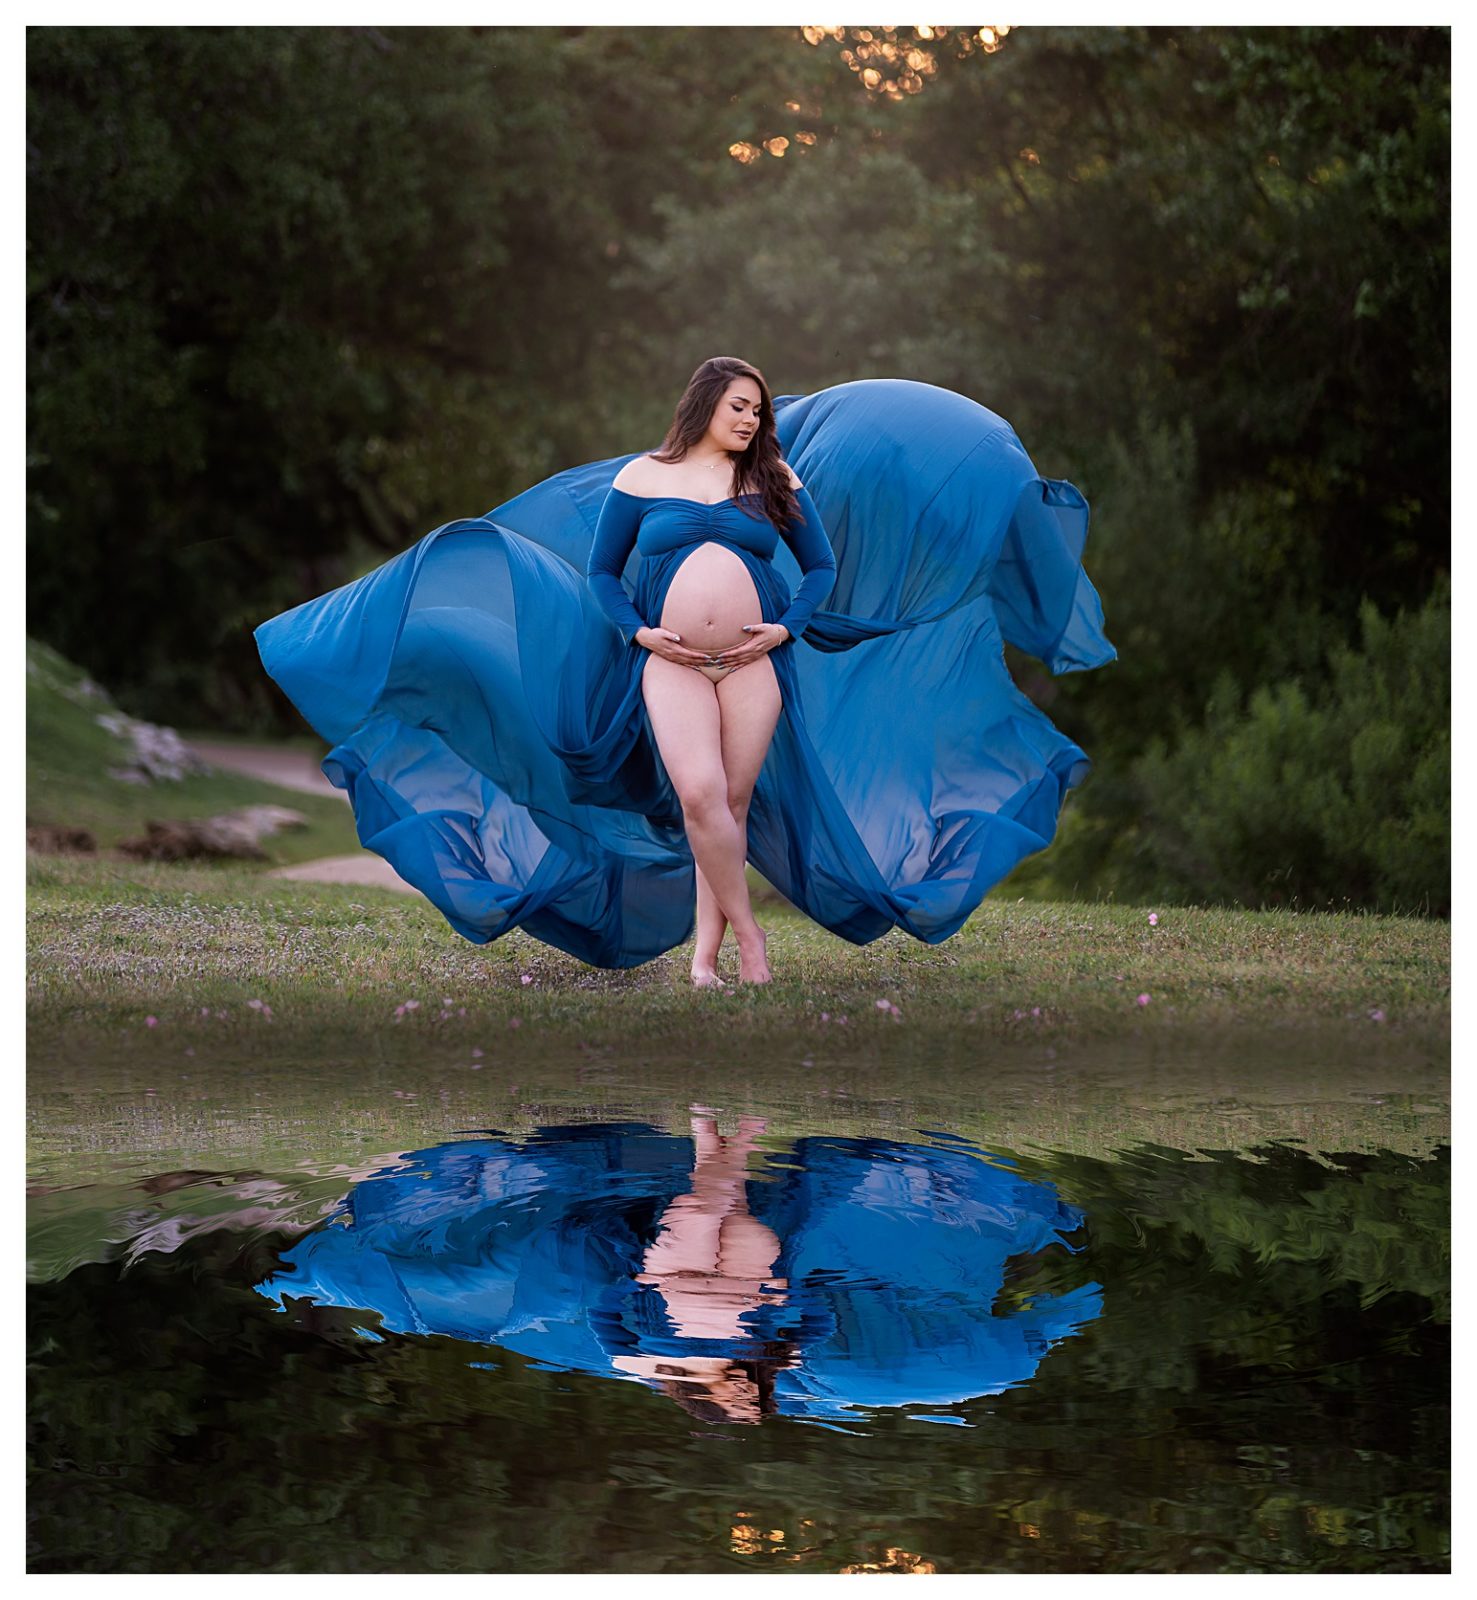
- To add effects. An age-old service provided by photographers is adding in effects to a photo. I can’t ask the clouds to snow or train butterflies to grace your newborn session, but I can tastefully add those effects after the fact.
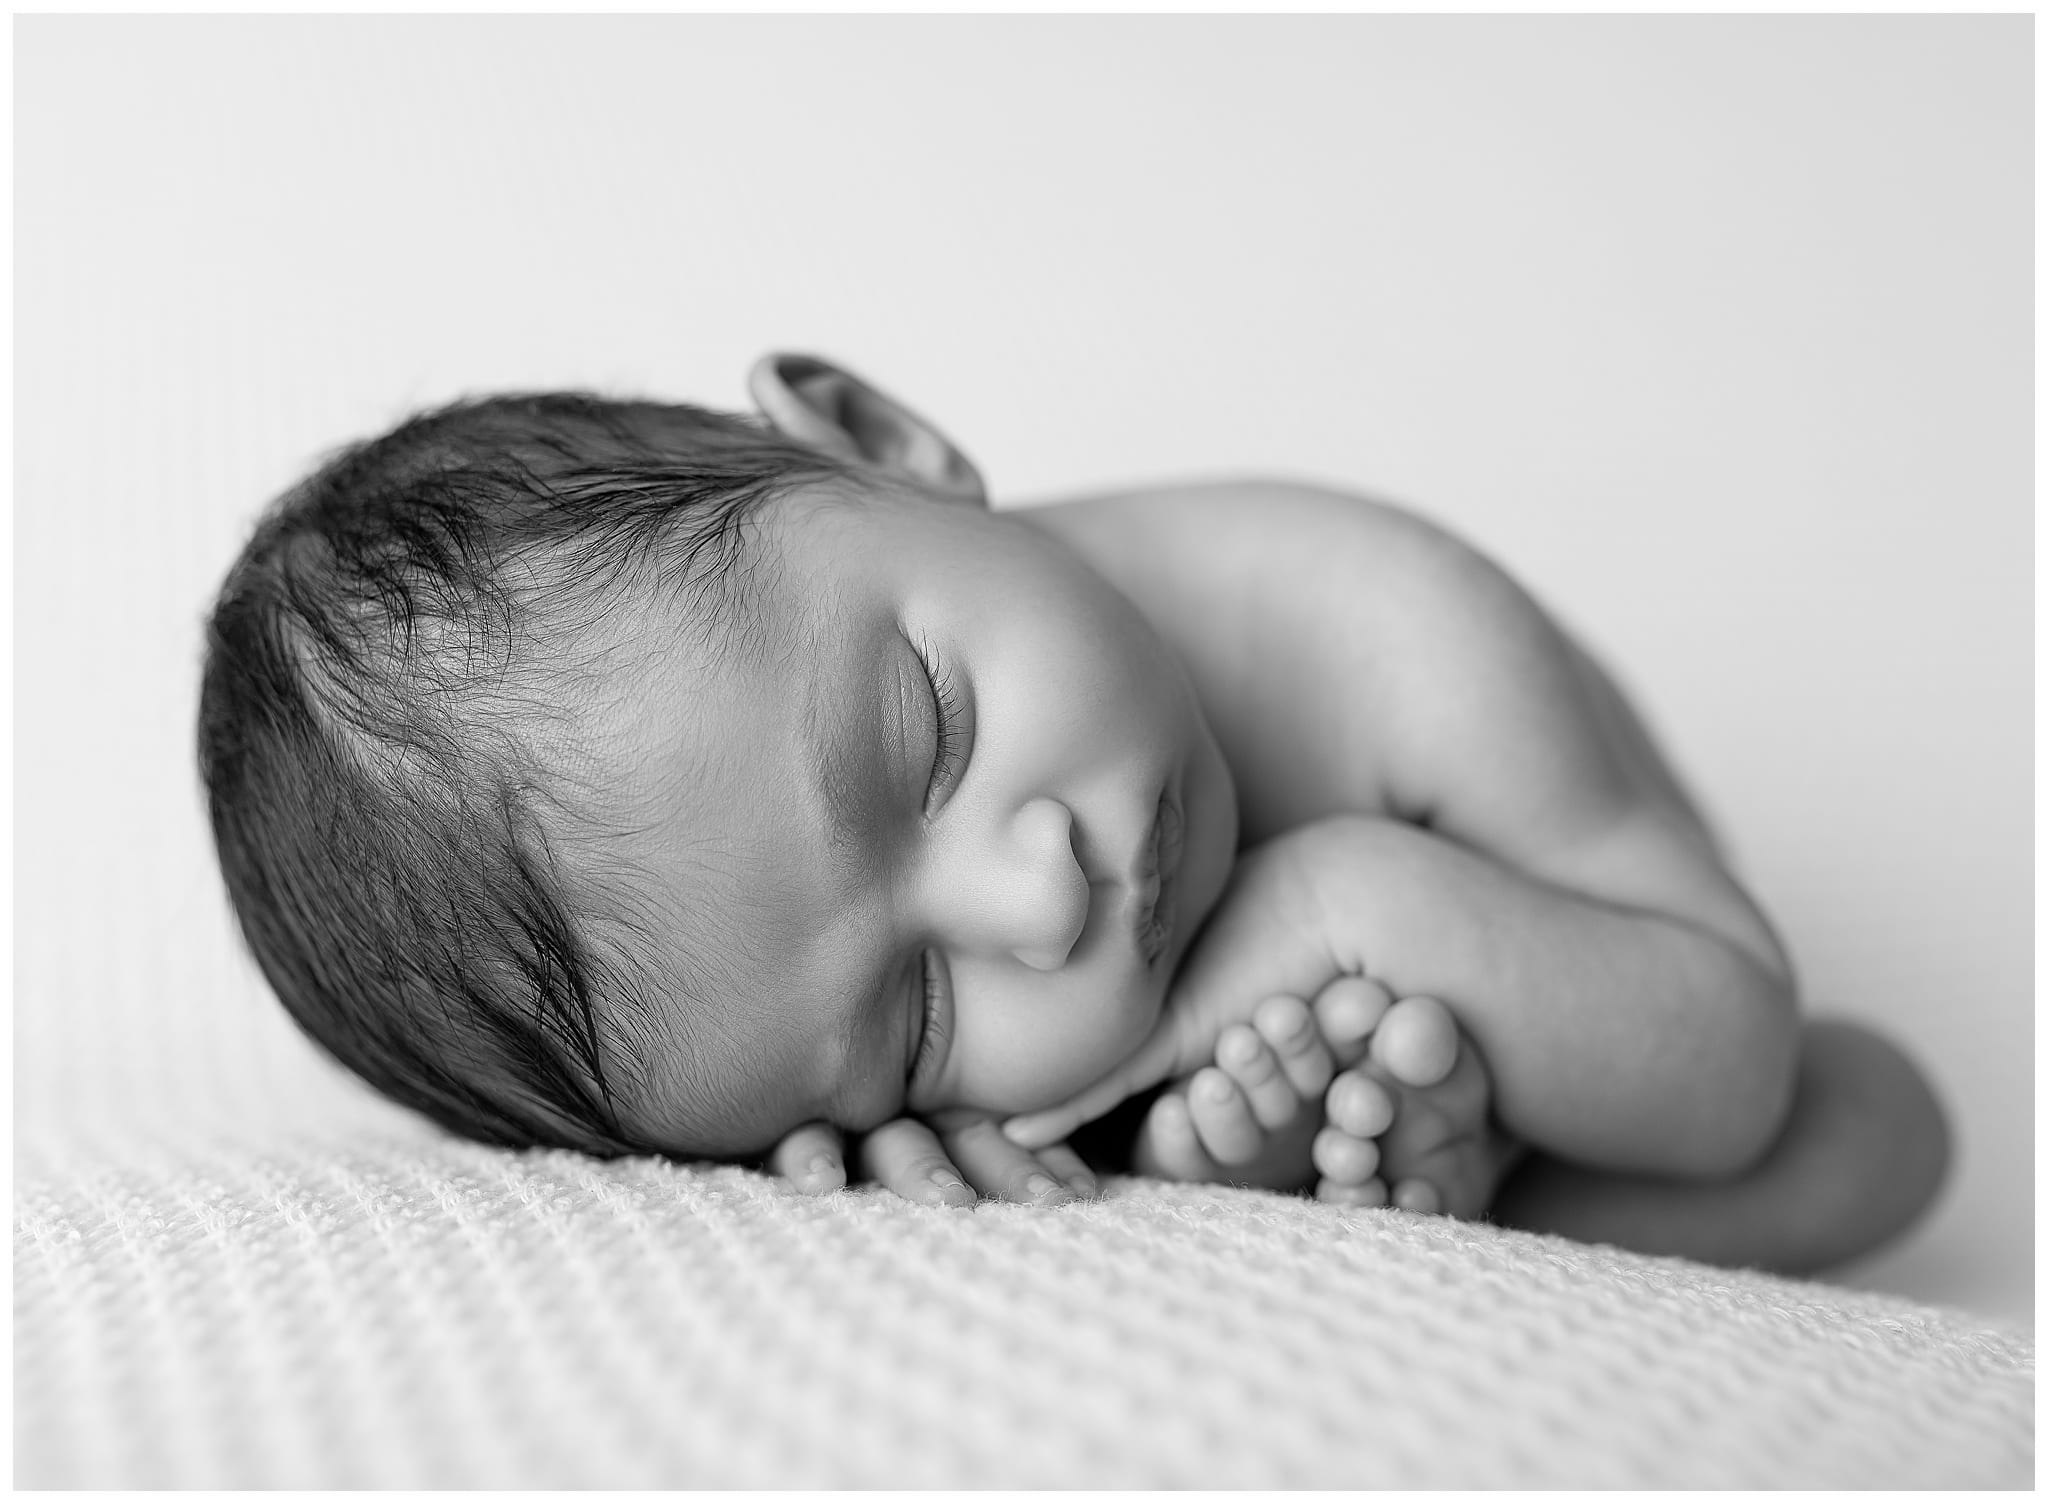
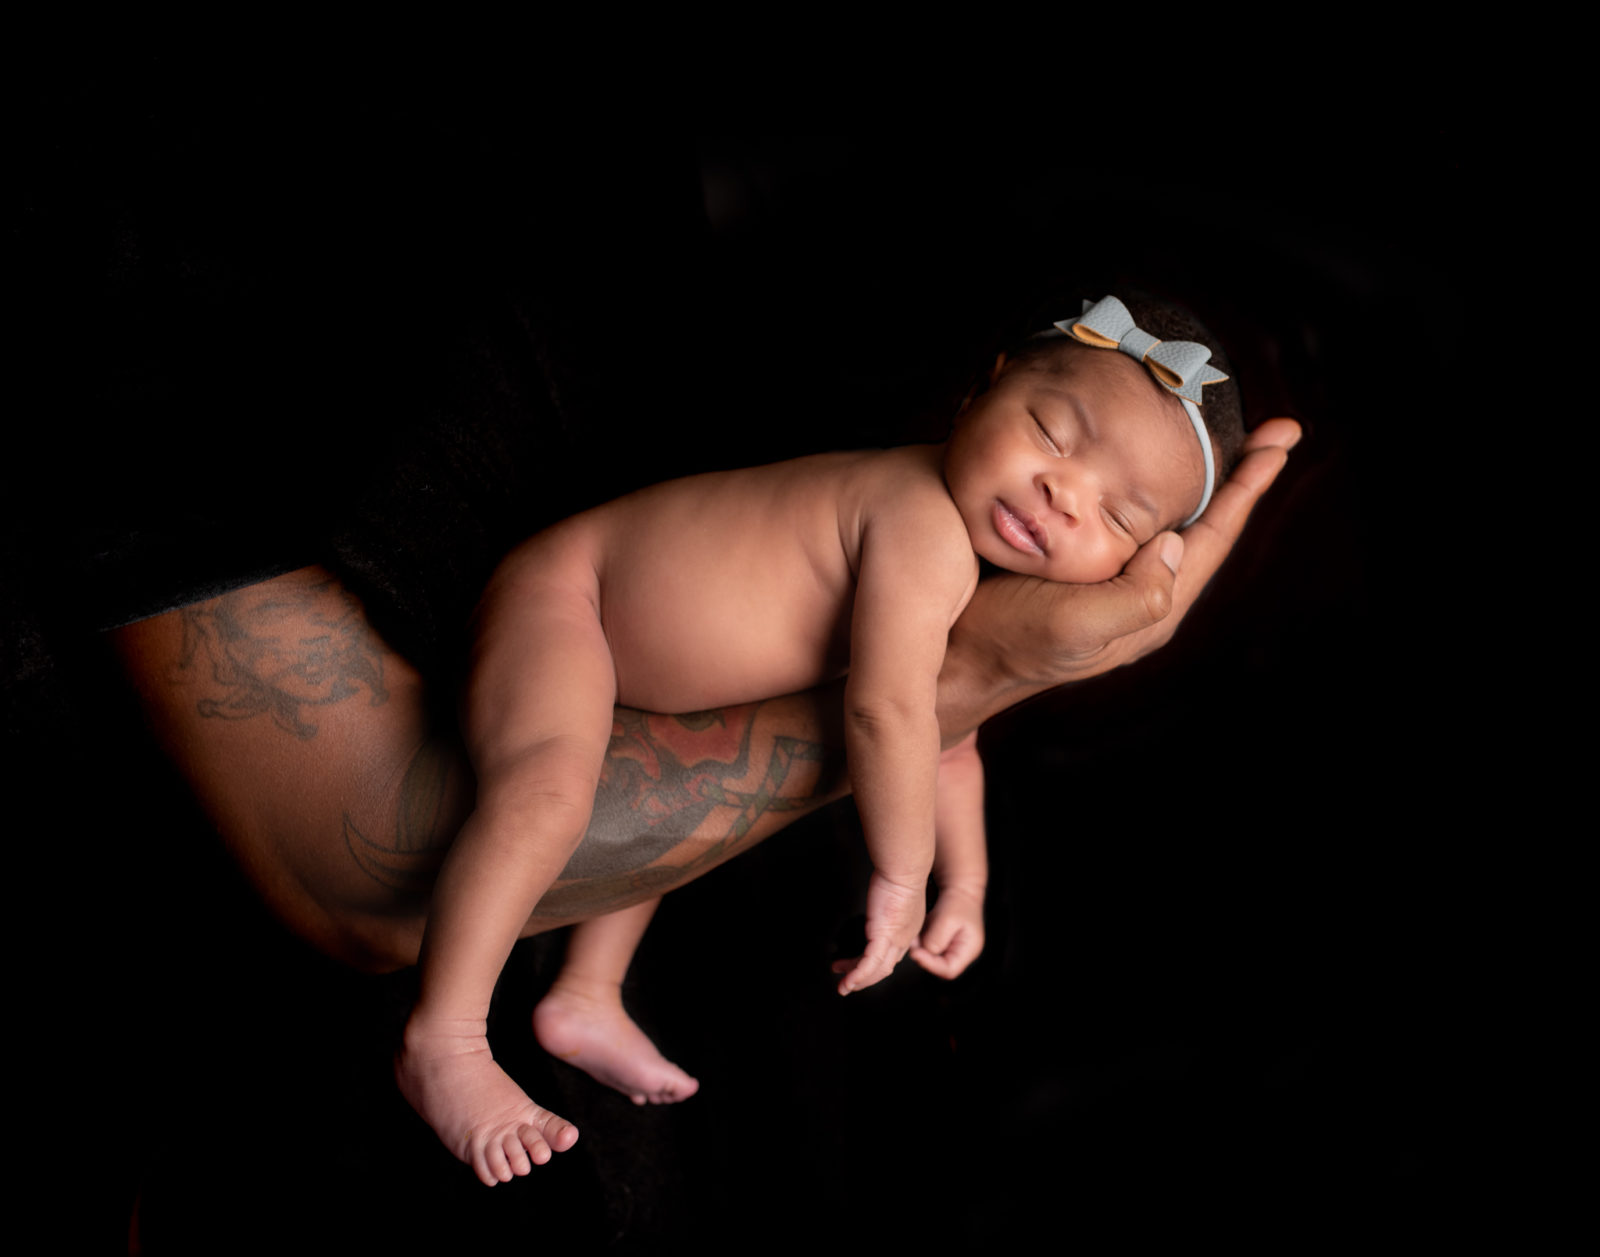
- To hide natural blemishes. Everyone has blemishes — it’s part of what makes us human! Newborns, for instance, typically have acne and skin conditions that may not look like much in real life but are very hard to hide when the camera is focused on them. The goal is not to make your baby look unrecognizable, but to highlight the enchantment of your newborn during this exciting time of their lives.
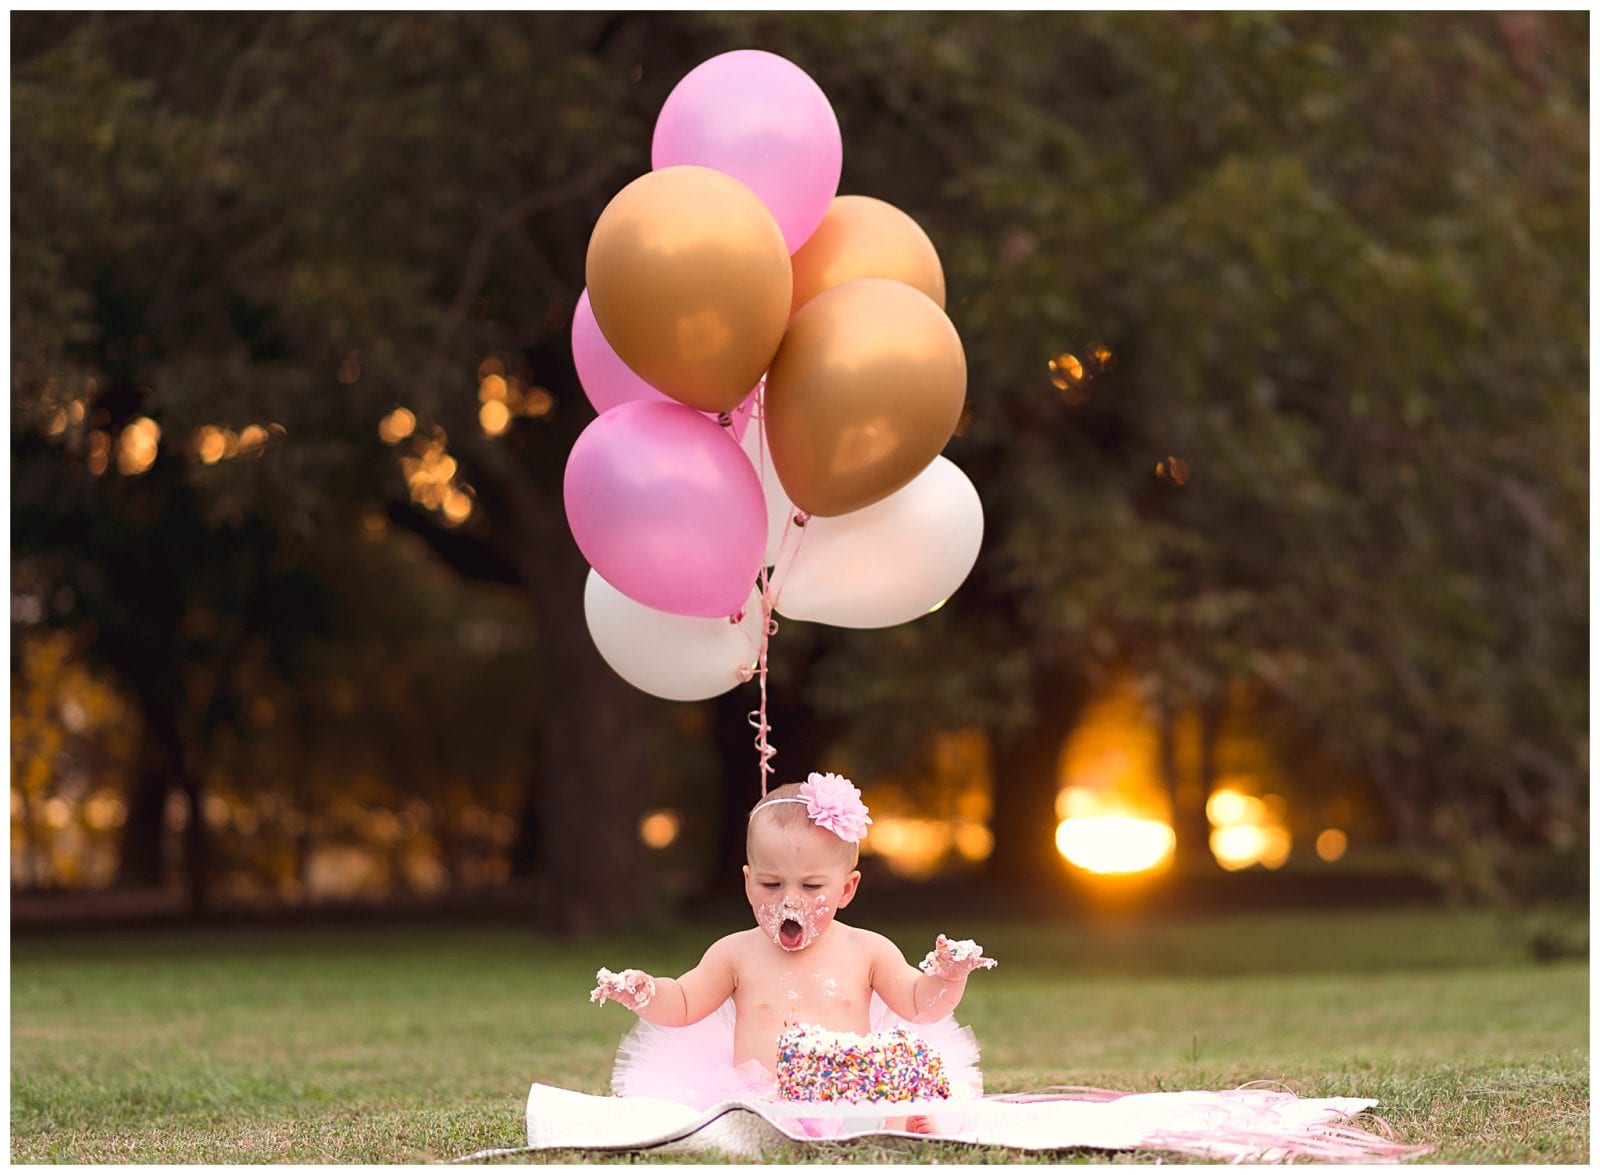
- To enhance “happy accidents” that happen during the shoot. Sometimes you get a beam of light, a sunset, or something in the photo environment that just works. With a little bit of editing, that happy accident can drastically change how a photo looks for the better.
- To emphasize certain elements of the photo. Far too often, we think of edits as major photoshop revisions when, in reality, I do a lot of cropping and straightening. Cropping, straightening, and using filters highlight the photo areas that the client wants to be stressed, improving the outcome of the photo.
- To remove distractions. Again, the goal is to focus on the subject of the photo. I’ll remove things like bushes, trash, and sometimes things like power lines to provide the ideal conditions for a photo.
- To provide the best for my photography clients. Ultimately, how much I edit usually depends, at least in part, on what the client wants. My main goal for all my photoshoots is to make the client happy and provide them with tangible memories.
To start the editing process, I’ll send my clients a proofing package of approximately fifty photos 48 hours after their shoot. They will choose their favorites from those photos within their package limit, and an additional number of photos may be chosen for an additional cost. Then, I begin my in-depth editing process before I send the client their photos. All of this takes approximately a week, and the customer received both black and white and color versions of their chosen photos.
Culling
The culling process is the first step in editing my photos after the photo shoot. During this process, I’ll review all the photos that I took and delete the images that won’t quite make the cut — for instance, shots where people have their eyes shut or shots that are just a little bit blurrier than others.
Head Swapping
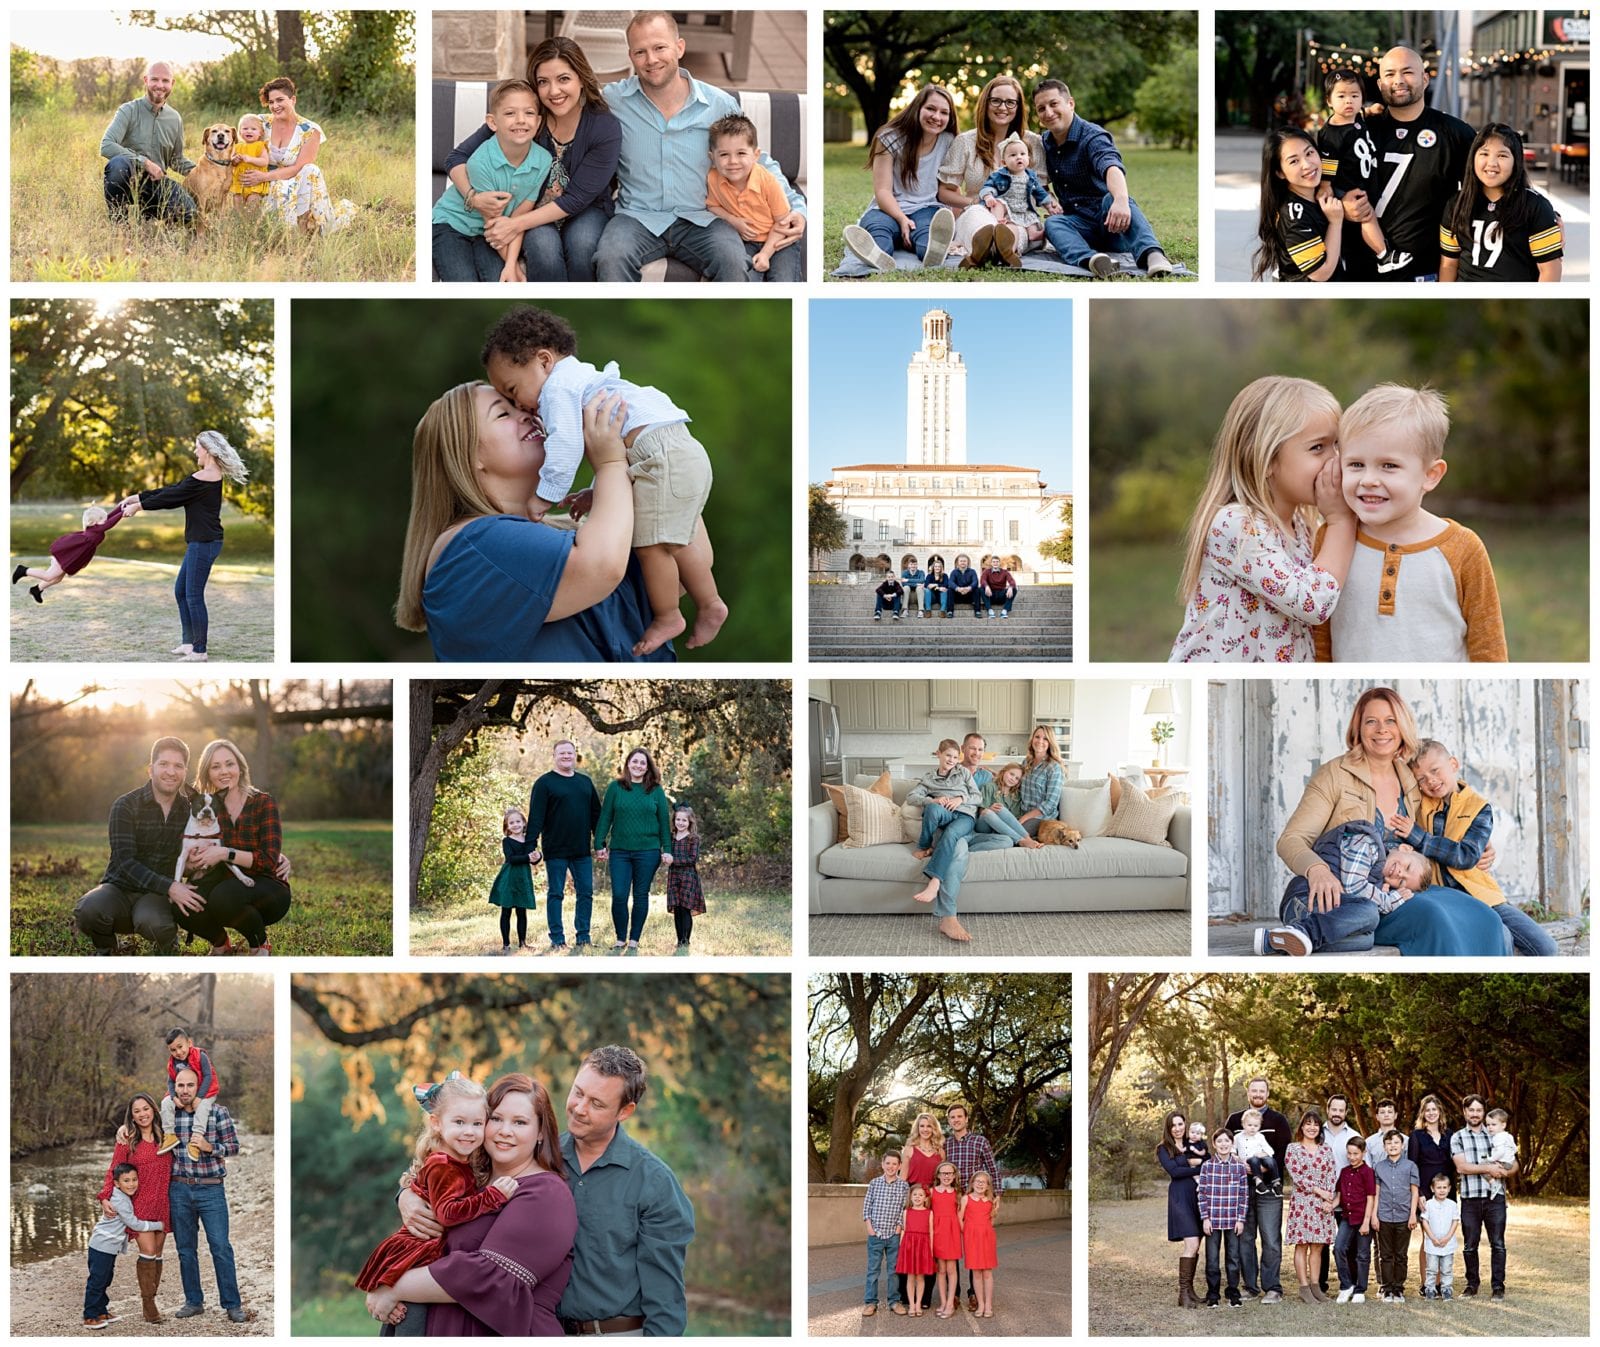
Head swapping is something I employ a lot — especially when there is more than one family member in the shot. Head-swapping is the process of photoshopping a usable face or head onto a shot that is otherwise unusable/not what the customer is looking for. This is a creative way to handle photos where all family members look perfect but one kiddo who is being a cheeseball, has their eyes closed, or may be crying.
Cropping
Usually, I’ll start by cropping photos in a way that emphasizes the subject. For newborn photography, that generally means putting baby front and center — everyone wants to see those crinkly little toes, button nose, and sweet eyes. Sometimes, the only way to get all that is to capture the picture and crop later.
On the other hand, maternity portraits want to emphasize the mother’s connection with their future baby, so we want to focus on mom’s stomach in these photos. Many maternity shoots take place outside, and cropping also cuts down on the background “noise” that sometimes just happens in outdoor photography.
Straightening
Next, I’ll spend some time straightening the photo to ensure all the elements of the photo line up in a pleasing way. No picture is ever perfectly straight when the photographer takes it, so straightening a photo allows an observer to see the image the way it was intended.
Adjusting The Brightness Of The Photo
The goal for adjusting the brightness is to ensure that all the essential elements are seen in the final picture, not to make everything brighter. Does shadow in my latest newborn shoot obscure the baby’s feet? Is the light behind a mom-to-be’s head preventing me from catching the features of her face? These are all things I look for when adjusting the exposure.
My ultimate goal when it comes to photo edits is to capture the moment. Editing helps me do that.
Most of the edits I do to my client’s photoshoots I do out of my Cedar Park photography studio. Leave a comment below with your questions about photo editing, photo sessions, or my studio. Or contact me for more information!


